The following is a guest post by Lisa Maria Gyldenlund Mikkelsen.
Applying and obtaining a marriage visa in Colombia is a document-intensive process that requires careful planning.
In this blog post, I’ll walk you through the steps that I took on my way to being the happy owner of a TP-10 visa valid for three years, hoping that the process will be much less complicated for you, than it was for me.
I met my Colombian husband (it still feels weird to say), Luis, two years ago in Australia and came with him to Medellín in the Summer 2014.
I was on a tourist visa and quickly realized that three or six months was not going to be enough in this beautiful place and even less so, if you have a relationship to nurse.
The TP-10 visa application process – at least the one I went through – consists of two steps:
1) Marriage
2) Visa application process.
If you are already married to a Colombian and have a marriage certificate from another country, obviously you can go ahead and skip the first step.
However, to apply for the TP-10 visa, you need to legalize/authenticate (with apostille) both your marriage certificate as well as a certified Spanish translation of this.
Step 1: Getting Married in Colombia
Not being a Catholic like my boyfriend, it was not an option for me to get the full-package white wedding in a beautiful iglesia.
Fortunately, getting married in a small, informal ceremony with my boyfriend’s family present, and my family on Skype suited us more than well.
So, we opted for the civil marriage at one of the many notarías in Medellín.
Besides performing civil weddings, the notarías deal with authentication, keep public papers like birth and marriage certificates and so on. You will find the notaría’s office in most of the barrios of Medellín.
I’d just like to add a quick word on religious weddings in Colombia: they are handled by individual religious officials and involve similar documentary rules, along with religious requirements.
After a religious wedding, the marriage must be registered at a notariá’s office. For further details about religious weddings in Colombia, you should contact the religious organization that you would like to do the ceremony.
Documentation for civil wedding
Your first step should be to contact your notary of choice to discuss required documents and other procedures.
Because Colombian marriage laws leave room for interpretation, marriage requirements sometimes vary from notary to notary.
Once you select a notary, it is important to find out what he or she will ask. You can use any notary, so if yours makes unrealistic demands, you may want to contact another one.
Many notaries have websites with helpful information. Alternatively, you can call or visit one in person. We never managed to get through by phone to ours, so we ended up spending around seven visits there altogether.
The requirements to apply for a civil marriage ceremony:
- Your civil registration papers indicating marital status, not older than 90 days*
- Spanish translation of civil registration papers**
- Your birth certificate*, not older than 90 days
- Spanish translation of birth certificate**
- Copy of your passport, which needs to be valid for at least another six months
- Copy of your Colombian partner’s cedula/citizen card
- Birth certificate of your Colombian partner
* You need to legalize/authenticate with apostille the documents issued in your home country, which is your birth certificate and civil status/civil registration papers showing that you are eligible to marry.
** Your birth certificate and civil status papers have to be translated into Spanish by a certified translator, and the translations have to be authenticated as well.
More about the apostille/legalization process on the Cancilleria’s / the Ministry of Foreign Relations’ website here.
The copy of your passport will be legalized at the notary’s office. Always bring your passport as documentation, when you visit the notary.
Your partner’s documents will also be authenticated, and everything is collected in a file.
Regarding translation of documents issued in your home country
Being a Danish citizen, I had to pick up my birth certificate at one of the offices of the Danish Church and my civil status paper at one of the Government’s Public Service offices.
In Denmark we can get our documents issued in Danish and English, so I still had to find a certified translator authorized by the State of Denmark to translate my papers to Spanish.
Only documents translated by an approved translator can be authenticated at the Foreign Ministry’s legalization office, which is the entity that deals with authentication in Denmark.
All this had to be done in Denmark, so if you are already in Colombia, check what your options are with your consulate or the Cancillería.
I suspect that the process of obtaining your documents varies from country to country, so check with your authorities.
Ultimately, you need to be able to show authenticated birth certificate and civil status documents in Spanish at the notary’s office. And remember that the originals must be no older than 90 days on the day you hand them into the notary.
Cost for documents
The costs (in USD) of obtaining the documents in Denmark (these will probably also vary depending on country) were:
- $25 for the civil status paper
- $0 for birth certificate
- $110 for translations of two documents
- $83 for authentication of all originals and translations
Marriage application process and ceremony
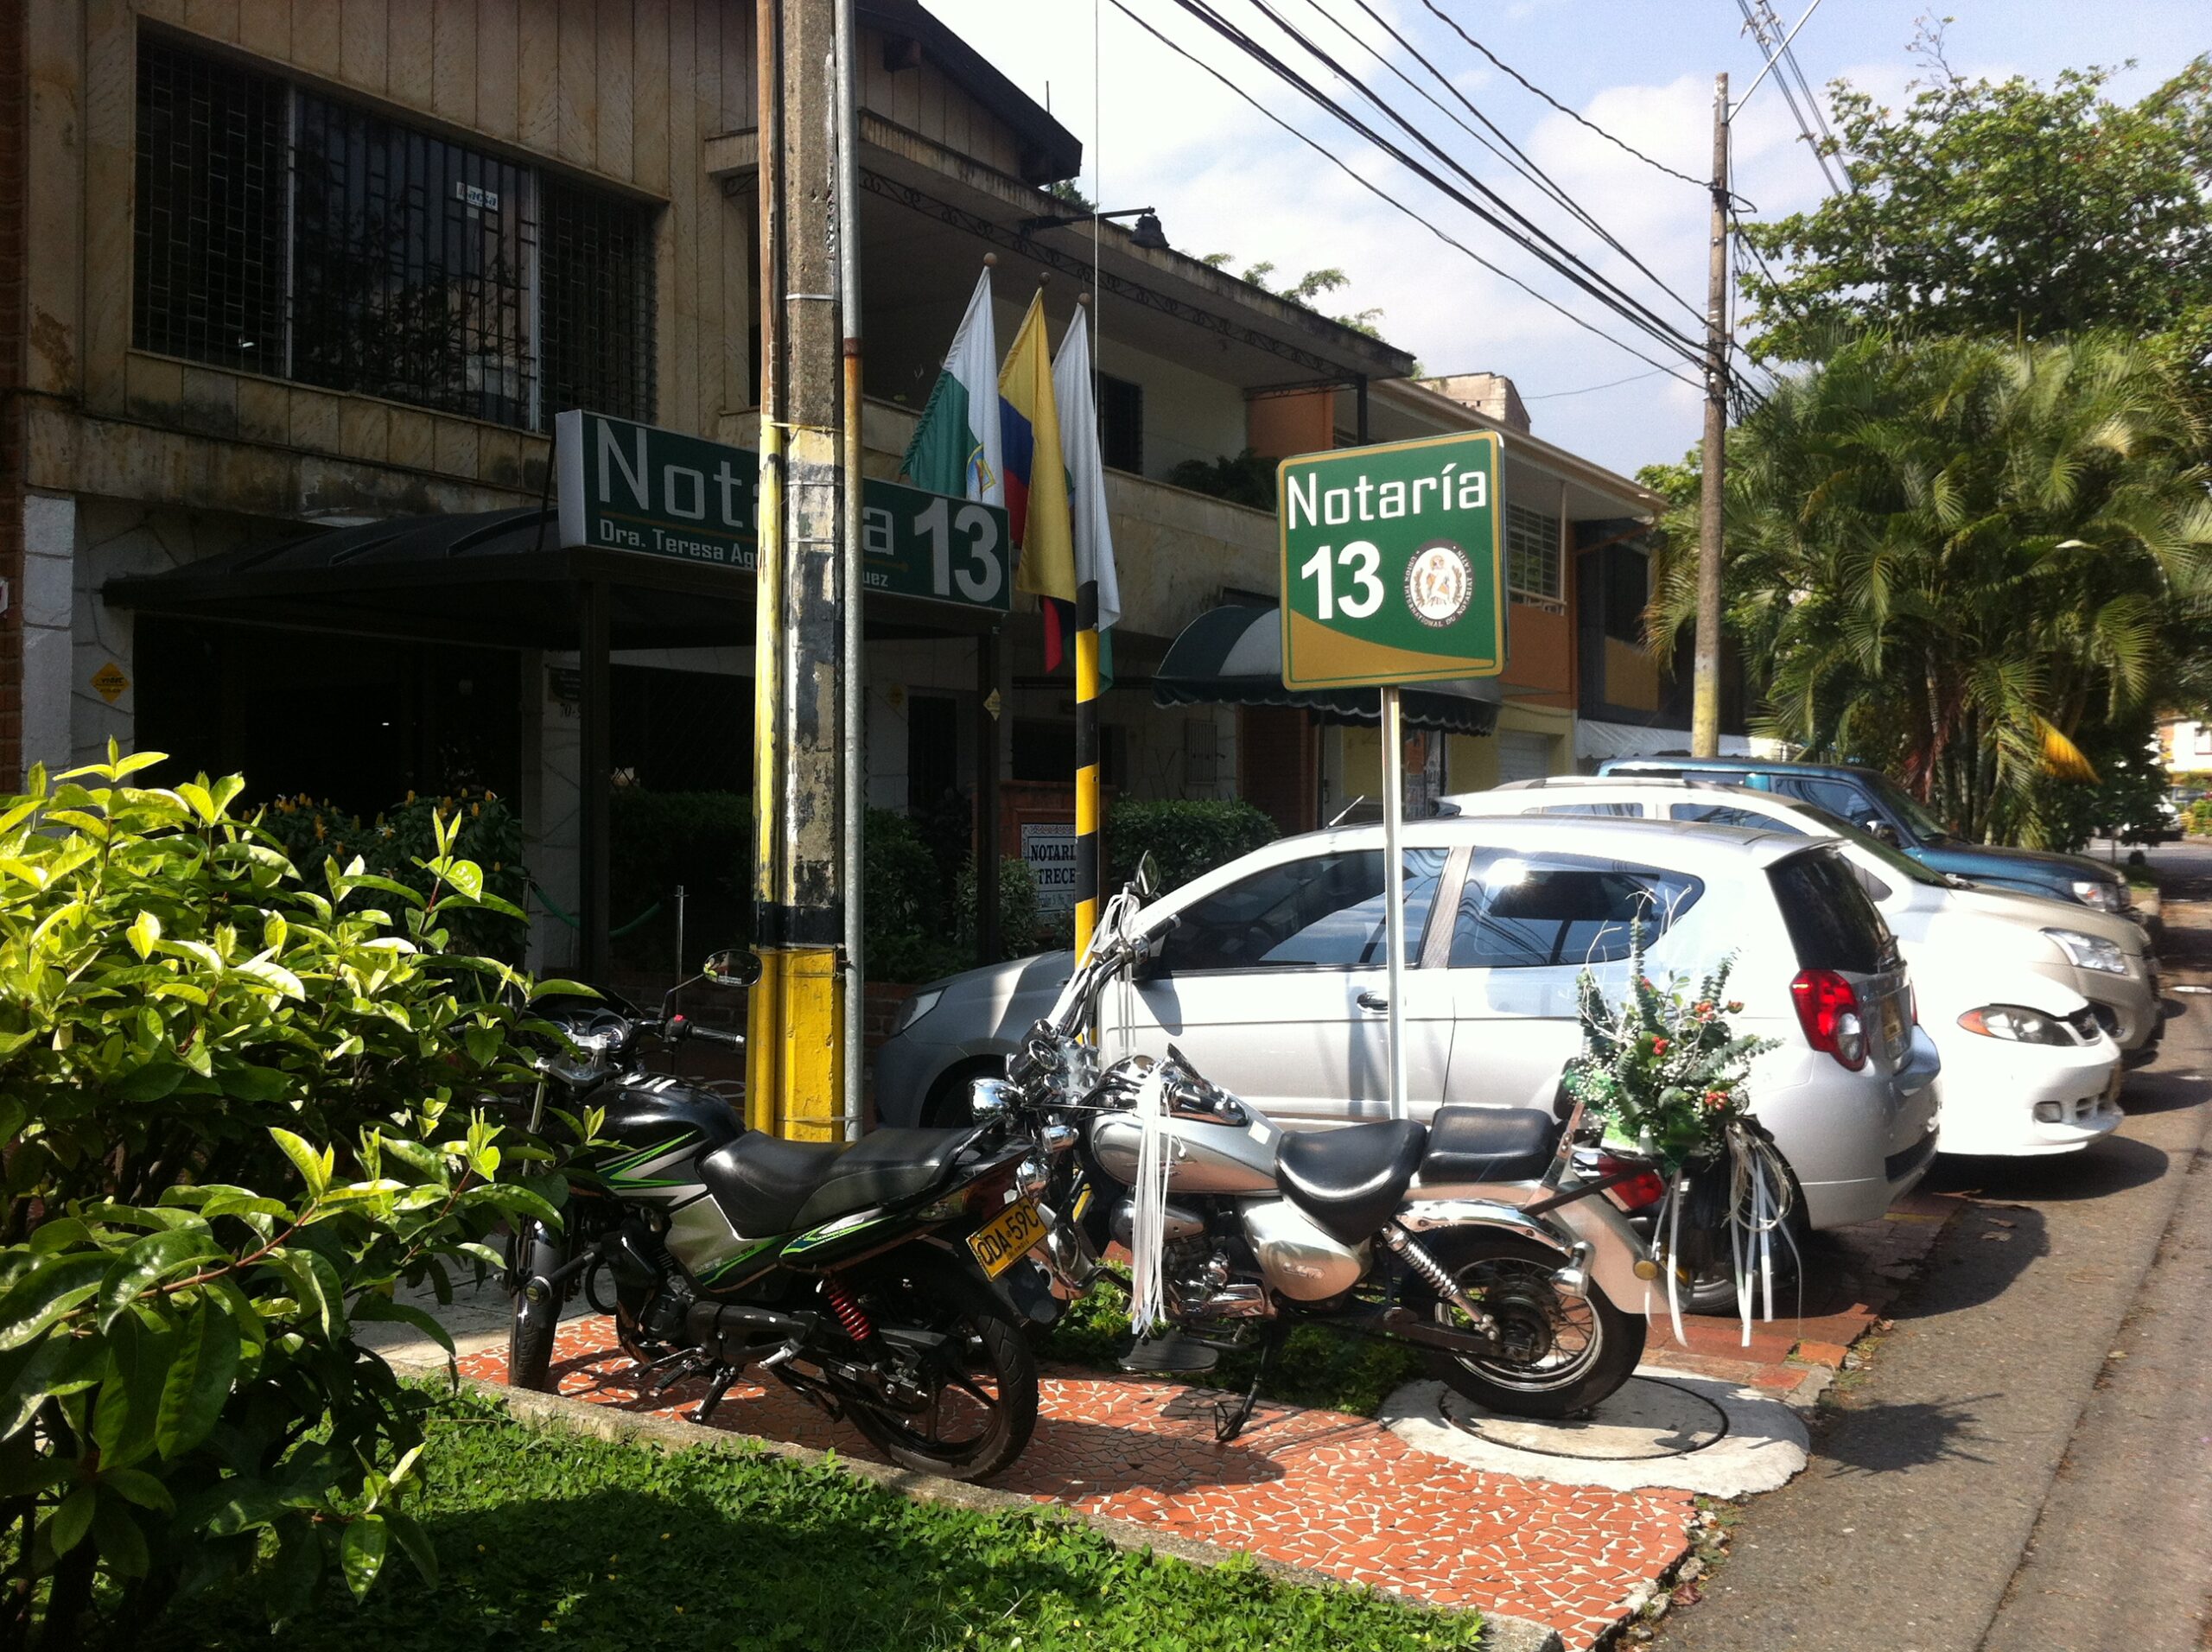
We took all our paperwork to Notaría 13 in Laureles a few days before Christmas, and they told us that we probably would get a response in a week.
Two weeks later, we still hadn’t heard from them, so we went back only to find out that they had not been able to read my marital status out of the papers I gave them, and they had somehow lost the phone number we provided. Oh well.
At the beginning of February, the papers were finally approved and we were ready to set a date, but for us to do that, we needed a certified translator present, as my Spanish was not good enough for them to allow me to sign any papers or get married without one.
Even though we had been at the office five times by then, this was the first time they informed us about this requirement. I guess they had assumed I was fluent in Spanish.
The notary’s office recommended us a translator, whom we called and set up an appointment to meet at the notary to book the wedding date. Fortunately, our translator was very flexible with her time and turned out to be an extremely pleasant person, who I was glad to have whispering in my ear during the ceremony.
We got married on a Saturday and we could pick up the marriage certificate the following Tuesday. Once you have this, you can start your application for the TP-10 visa.
There is no legal requirement that you tell your Embassy of your marriage, or that you otherwise register the marriage with your government, except in the course of requesting a foreign spouse’s immigrant visa.
Cost of wedding
- 15,200 pesos ($6) for extra copies and authentication of Luis’ cedula and birth certificate and copies of my passport. Paid when applying.
- 120,000 pesos ($47) for the wedding. Paid when setting the date for the ceremony.
- 200,000 pesos ($78) for translator to be present when booking date and at the ceremony.
- 12,100 pesos ($5) for two copies of the marriage certificate with authentication.
Step 2: Obtaining the TP-10 Visa
You can apply in several ways:
- Online
- At the office in Bogotá.
- Through an agent.
- At the consulate in your home country.
I applied online, however I had to follow-up with a visit the Bogotá office within 15 days from the date that the visa had been electronically approved to get my visa stamped in my passport.
There are no offices where you can apply in regional cities (i.e. Medellín). If you apply through an agent with the power of attorney, I’ve heard that you can save yourself the trip to Bogotá.
I must admit, I was not completely confident about applying online and I was a bit anxious about making everything in time. On the Cancillería website, you can call for personal help 24/7 via Skype, and I had a lot of questions about the application procedure.
As it turned out, the service staff are very helpful. Also, as a standard, it only takes them four days to approve online applications. This meant, that we were just able to make it before my tourist visa would expire.
Documentation
When filling out the TP10-application form online, you need to upload the following documentation
- 3×4 cm photo (visa photo on white background)
- Passport main page
- Passport page with latest entry stamp to Colombia.
- Certificed copy of your marriage certificate from notariá (no older than 3 months).
- Your wife’s or husband’s cédula (front and back).
- A letter from your wife or husband stating that you are married and she/he supports your visa application. We added a digital signature to this document.
Luis’ and I had all the paperwork ready except the photo, which we had taken at Foto Japón for 15,000 pesos ($6) for eight photos, however you may also do the photo yourself.
If you do the application at the Bogotá office, you need to bring the same documents, but they will take the photo for you.
Online application process
For the application, you need to fill out an online form. This is very easy to do and the form exists in both English and Spanish versions. You can find the form here.
Basically, you give personal data, information about your marital situation and answer a handful of yes-and-no questions about previous visa applications and your health. The information you need to give is not extensive and is easily done in 20 minutes.
Again, the Cancilleria’s website is very helpful and provides you with a step-by-step “idiots” guide how to fill out the form. If this does not answer your questions, you can call them at any time.
Once you complete the form, you save it, so you can make corrections or additions later, if you need to.
Shortly after, you’ll receive an email confirming that they have received your application and an application number to use, if you choose to pay for the application in the bank.
We paid the 106,200 COP ($41) straight away online using Luis’ Colombian debit card. In this case, you automatically get directed to your web bank. Take a screen shot of the payment, as you do not receive an email confirmation that the payment has been received. The approval procedure does not begin until the Cancillería has received the payment.
We only had to wait the weekend out for the approval. We paid for the application Friday morning and by Monday afternoon, I received an “approved” email from the Cancilleria, telling me to pay the remaining of the payment of 435,420 pesos ($170) within 15 days. If you do not pay within this deadline, you will have to start over.
Do not wait the 15 days out to pay your visa, unless you do so at the Cancellaria’s office in Bogotá with time afterwards to go to Migración Colombia to register your visa, which also has to be done within 15 days from the day your visa was approved.
This can only be done with the visa stamped in your passport. If you do not make the deadline, you will have to pay a fee.
I paid the remaining amount through the website on a Wednesday and by Friday I received an electronic version of my visa. This electronic visa is only good for taking with you to Bogotá to get it printed in your passport.
You cannot register your electronic visa at Migración Colombia nor use it to apply for cédula. The only thing you can do with it, actually, is to bring it to Bogotá, when you need to have it stamped/printed in your passport.

Finalizing the visa process in Bogotá
Barely making the deadline, I went to Bogotá 14 days after the issue date of my visa to have it printed in my passport Visa & Immigración Office and to register it afterwards at Migración Colombia.
The two institutions are located only six blocks from each other, so I recommend that you make a day of it and start early.
Step 1: Getting the visa stamped at Visa & Immigration Office
The office is located at Cra 19 # 98-03 Torre 10, which is a 20-30 minutes ride in taxi from the airport depending on traffic.
Documentation
- Passport (your passport must have a least 180 days and a minimum of two blank pages for the visa stamp).
- Copy of electronic visa.
The office opening hours are 7 a.m. to 12 p.m. You cannot make an appointment; you just have to show up. By 7:15 a.m., when I arrived, there was already a long line of people waiting outside. (I had a laugh discovering that this line can also be seen on Google Maps street view!)
At the security point, you show your passport and state your business, and you are guided to the right floor, where you receive a number at the front desk.
I had done some research on the procedure and expected at few hours of waiting but was called in almost immediately to the back office, where an official briefly reviewed my application.
I was then asked to wait in the waiting room again, while she printed the visa in my passport. This took only a few minutes.
As I had paid online, no more fees were asked. I left the building again by 8 a.m. with an official visa valid for three years.
While I was there, I noticed that people who were doing their full application on site had to go through interviews with the officers, whereas I did not have to speak more than a few words. Also, they were not allowed to bring their Colombian spouse for the interview.
From my research I know that it will take a few hours to process the paperwork, should you opt for the on site application process. Everyone, however, will have his or her visa granted the same day (if approved).
Step 2: Register visa at Migracion Colombia and apply for Cédula de Extranjero
The Migración Colombia offices, where you register your visa and apply for cédula, are located throughout Colombia in the bigger cities.
The Bogotá office is located at Cll 100 # 11B-27, only a few blocks from the Visa & Immigration Office.
Since I was in Bogotá anyway I had decided also to prepare the documents for applying for a cédula, and it was easily done in the same procedure.
To register your visa you need:
- Passport with printed visa
To apply for cédula you need:
- 3×4 cm photo (visa photo on white background)
- Copy of passport main page
- Copy of the page where your visa is printed (there are several photo copy services around the Migración Colombia office).
- Copy of blood type card (can be done in a clinic e.g. Calle 48 #40-41 office 104, Medellín).
- A form filled out with basic personal information plus two Colombian contacts. You receive one at the office or you can prepare one beforehand: Download the form “formato único de trámites” from the documents menu.
I arrived at the office 8:15 a.m. and went into line to get my documents checked and collected.
Then I was directed upstairs, where I waited for an official to call my name. I handed him my papers and told him that I was there both to register my visa and to apply for cédula.
A simple interview took place as the official filled in details on his computer for my application.
Having double-checked the information (and the official’s spelling of my tricky Danish name), I paid 162,000 pesos ($64) with my credit card right there and then.
I was told that if I should want to pay in cash I would have to leave the building and pay in a bank, so I recommend bringing your debit or credit card.
As they do not mail the cédula to your address, and not wanting to go back to Bogotá, I arranged that my cédula be sent to the Medellín office, located Cll 19 #80A-40. You simply add this to the application.
Another official then took over to take my fingerprints, signature and picture (had I only known, I would have at least done my hair) for the cédula and all was done by 9 a.m.
Two weeks after my trip to Bogotá, I went online to check the status of my cédula.
It was ready to be claimed, so I called the local office in Medellín, where I’d asked them to send my cédula, to ask, if they had received it yet. They had, so I made a short visit and am now the happy owner of a TP-10 visa and a cédula.
Read more about cédula here.
Costs of obtaining the TP-10 visa were:
- 15,000 pesos ($6) for photos
- 106,200 pesos ($42) for online application review
- 435,420 pesos ($171) for the visa
- 360,000 pesos ($141) for flight tickets
- 40,000 pesos ($16) for taxi rides from and to the airport
- 162,000 pesos ($64) for cédula application
Final notes
The marriage procedure was by far the most stressful for me, as time dragged out by mis-communication and lack of information, all the while we had the tourist-visa-expiry-date-clock ticking.
Once the ceremony was performed, the rest of the visa paperwork was done within very short time.
However, during the process, I found that the information provided online actually varied in the English or Spanish versions, and trying to find the answers online only ended up confusing me so much that I barely made the 15-day deadline to register my visa.
Part of the reason for the confusion was because there exists a different deadline for printing your visa, if you apply from your home country. Also, I was not aware that I could not register my electronic visa. These misinformation combined almost had me pay very unwanted fees.
Yes, you CAN register your visa in Medellín, BUT the visa has to be printed in the passport first, and this is exclusively done in Bogotá.
So, instead of consulting websites for answers to your crucial questions, I would go for the information given via free phone calls or Skype calls.
The answers here were consistent and clear throughout the process. Again, the Cancilleria staff are available 24/7 on chat or Skype call directly from the website, and they are exceptionally helpful and patient!
Ultimately, of course, it was all worth the while, and my new visa status and my cédula bring along so many benefits.
For one, I can apply to be covered by my husband’s insurance, I can also apply for permanent residency after three years uninterrupted stay for this visa.
However, I am allowed to temporarily leave the country for up to three months. I look so much forward to what (married) life here in Colombia has to bring!
_______
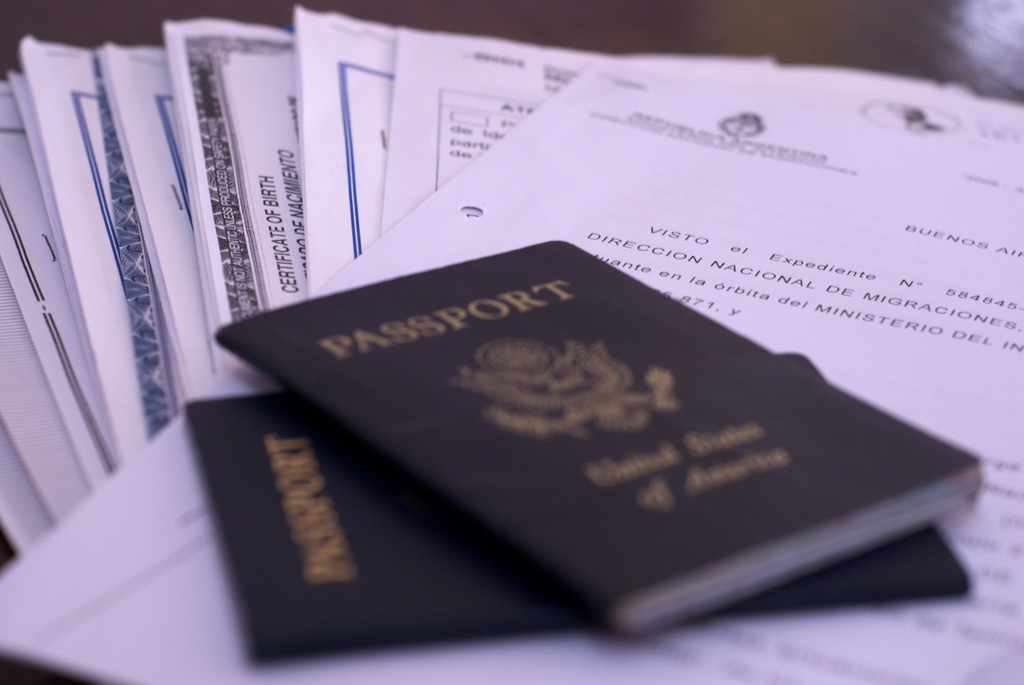
Passport photo by Beatrice Murch.